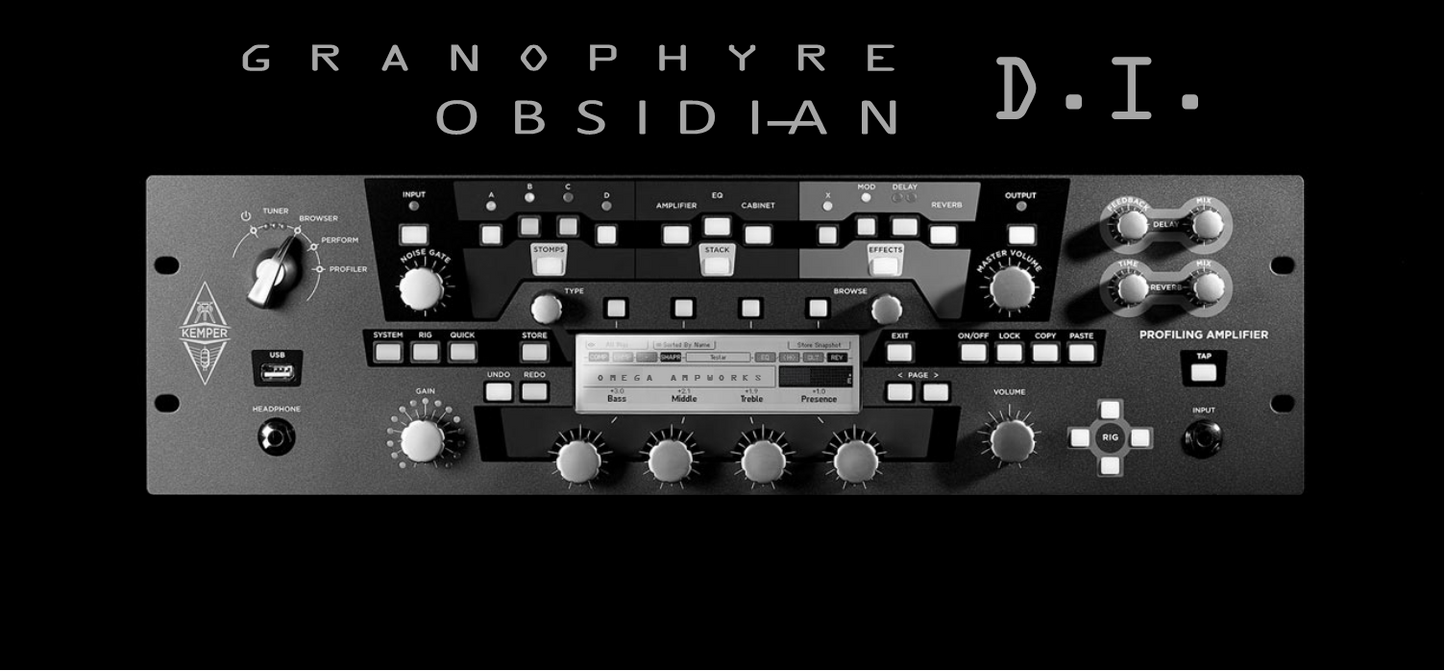
Granophyre + Obsidian DI Profile Pack
Granophyre + Obsidian DI Profile Pack
Couldn't load pickup availability
these were created without the use of a speaker cabinet. We created our
own method for creating the profile, that allowed us to capture the most
accurate representation of our amplifiers. From the low end punch, to
the rich harmonic mid-range, and the airy top end, it is all there.
Simply disabling the "cab" portion of a standard profile does not allow
you to hear a true representation of what the profiled amplifier sounds
like. The Kemper uses an algorithm and frequency compensation to
determine what it thinks the amp sounds like without the speaker. As
every speaker strongly colors the sound, this can never be accurate. Our
method removes the cab all together when creating the profile, and we
run the Kemper through a highly transparent DI box (and other special
equipment), then use our own special recipe of EQ'ing for the best
accuracy and feel. Sounds easy, but is time consuming and requires the
proper equipment (and ear).
The DI pack serves three main purposes for the Kemper user:
-As the perfect platform for Powered Kemper users to run through a
traditional guitar cab. With no cab simulation, this will provide a
more realistic experience.
-The best platform for creating your own merged profiles. This means
you can take any speaker cab from other profiles and attach it to these.
(Our standard Profile Packs are NOT merged profiles)
-Perfect for recording when you want to use an external IR loader or
Plugin. You can use your favorite Speaker Cab Impulse for even more
versatility and further development of your tone.
*Please note that a tube amplifier acts as a constantly changing
organism in relation with your hands (playing style) and the push pull
relationship between the power section and the speaker cabinet. It has
levels of harmonics, details, and areas of compression based on playing
style, that cannot be accurately represented by a digital modeller. We
consider these DI Profiles to be accurate, but will never be a true
replacement for the analog wonders of the real thing.
How to use
How to use
Follow the 5 STEPS to get to the bottom of the import process of your kemper sounds!
1st STEP – Take a USB pen (even better if new), and insert it into the USB socket of the kemper.
The kemper will automatically create 3 folders inside your USB.
2nd STEP – Remove the USB stick from the kemper and insert it into your PC.
Inside you will find the 3 folders created by Kemper (called: OS UPDATES – BACKUPS – SHARED)
3rd STEP – Once you have your sounds (kemper rig) on your pc (with the .kipr extension) you can take these files and copy them into the SHARED folder.
4th STEP – Once this is done, disconnect the USB from the PC and insert it back into the kemper.
5th STEP – Now the writing USB STICK will appear on the kemper.
After clicking on USB STICK, you will have to press the IMPORT / EXPORT button and then IMPORT again.
From that moment on, Kemper will automatically start importing the sounds that you have previously loaded into the SHARED folder. It will do it all by itself at this point.
Wait for the loading and then you will find in the BROWSE section of the kemper (i.e. the library) all the sounds you have loaded (in addition to those that are already present in the kemper of course)


